It’s that time of year again when all the Northeasters breathe a sigh of relief: Spring.
Ok, so we’re technically not there yet, but the weather is warmer, the birds are chirping and the Spring perennials are popping through the soil so we’re going to celebrate early!
And you know what the arrival of Spring means? That it’s ime to clean up all the debris we’ve ignored while it was covered in snow all winter. So, get your rakes out of the shed, pump up your wheelbarrow’s tire and put on those gardening gloves because it’s time to do some outdoor Spring cleaning!
- Step One: Raking
Think of raking your lawn like waking up after a long sleep; after all, it has been dormant for several months now. A good Spring raking has so many wonderful benefits for your lawn, so make sure you absolutely do not skip this process.
Over the winter, leaves, dead grass and other debris accumulates on your lawn, and without removal can smother new growth and prevent air and essential nutrients from penetrating the soil; including that new fertilizer you plan on putting down!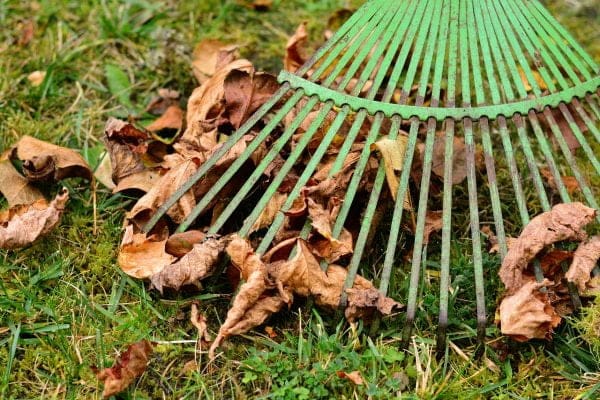
- Step Two: Dethatch
But wait, didn’t we just do that with Raking? Well, sort of.
While raking is a great way to wake up your lawn and give it a nice clean-up, dethatching is an extra step that more efficiently removes that dead layer of buildup in your lawn that raking alone can’t accomplish.
A dethatcher works by using sharp blades or prongs to cut through the tough dead thatch layer on your lawn so the elements essential to a healthy lawn can penetrate to the soil. The best part about this process is that it typically only needs to be completed every five years or so. Dethatching too frequently can harm a lawn, so only do it when the layer is ½ inch or thicker.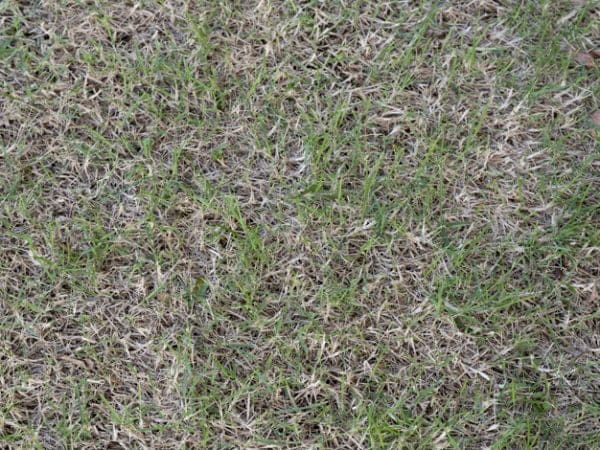
- Step 3: Aerate
If you live in an area with clay or other compacted soil types, this step is more important to the health of your lawn than most. Many people don’t realize that air being able to penetrate the soil is a critical factor in the health of a lawn, and aerating is the way to ensure that happens.
There are a wide variety of ways to accomplish this, from pronged-shoes to gas powered aerators you push across your lawn so discuss the current condition of your lawn with a local nursery or garden store for a suggestion on the best method for you.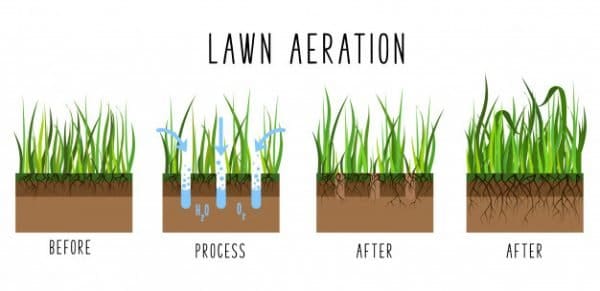
- Step 4: Fertilize
Now that we’ve woken our lawn up and given it a nice deep cleaning, it’s time to feed it!
About 2-3 weeks after the grass begins turning green (you don’t want to feed a sleepy lawn!) you’ll want to give it some nutrients to help it grow thick and healthy with a good Spring fertilizer. If crabgrass, broadleaf weeds or other types of problematic foliage has invaded your lawn, mix some weed control into your fertilizer dispenser.
The best time to put down fertilizer is when the ground is wet, which usually isn’t a problem for us Northeasters during these months. However, if rain isn’t in the forecast make sure to get your ground nice and wet by watering it for a day or two prior to putting down fertilizer. This helps the fertilizer penetrate to the deeper layers and begin releasing its nutrients.
After it’s down, make sure to water it in for a day or two as well, if Mother Nature isn’t lending a hand with a nice drizzle of rain. Make certain not to fertilizer before heavy rainfall is expected or else you risk washing away all of your hard work – and money!
- Step Five: Seed Away!
But what if your lawn is already thick and lush? Seed anyway! Annual seeding a great way to ensure that your lawn stays thick and healthy. Simply because you can’t see any problematic areas just yet doesn’t mean they aren’t forming beneath the ground.
Opt for a grass mix designed to grow in cooler weathers and remember to water if there’s no rain; grass seed needs to be moist to germinate.
- Step Six: Kill the Grubs
You know those irritating Japanese Beetles flying everywhere during the hot Summer months demolishing our gorgeous trees and bushes? These rude little insects start off as those gross white grubs you might have seen while doing some gardening.
The good news is that early prevention is everything when it comes to grubs! If your property doesn’t suffer from their presence, then you more than likely have no need for grub killer. But, if you’re constantly hanging beetle bags all over your property, consider putting down a good grub killer, which penetrates deep into the soil stopping the problem at the source.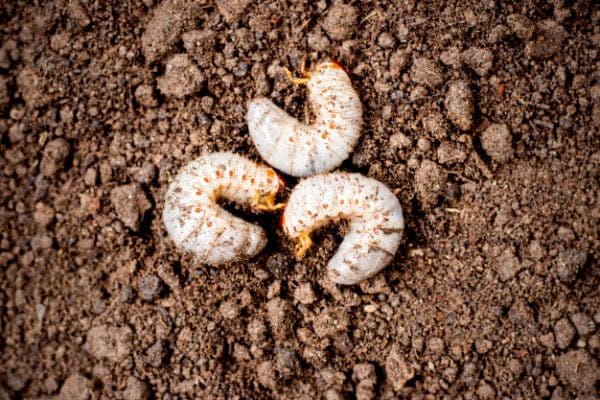
- Step Seven: Mow Your Lawn…the Right Way
Once the grass has grown long enough to require mowing (and the ground is dry enough) it’s time to give your lawn its first trim of the season. But before you start cutting, first take a few precautions to make sure you’re not damaging your lawn in the process.
Many homeowners make the mistake of cutting their grass too low. Sure, it saves time between cuttings, but that’s about all it saves in the long run. Mowing too low removes the shading taller blades provide, preventing the soil from retaining its moisture and from developing a deeper (and stronger) root structure.
Another common mistake is waiting too long between cuttings. Mowing more frequently and mulching the shorter clippings provides a great source of feed, sun protection, moisture control and insulation for your lawn!