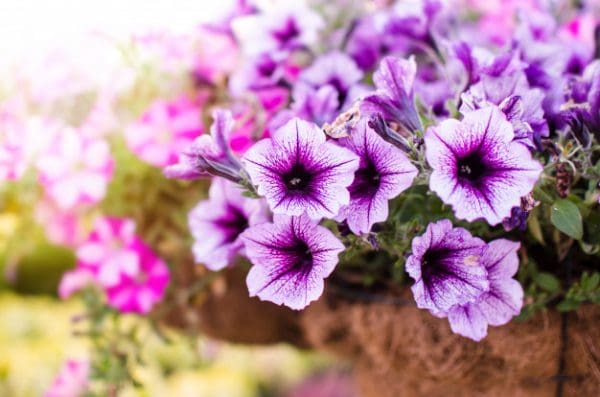
Nothing spruces up the outside of a home quite like planters filled with a lush variety of vibrant annuals. With so many colors, shapes and types to choose from, annuals provide a fantastic opportunity for homeowners to showcase their own preferences in a stunning way!
So, in order to keep those bushels, buckets, pots and old wheelbarrows filled with beautiful flowers looking gorgeous until the first frost, let’s discuss some great tips to help you keep your annuals healthy and full for months to come!
- Choose Your Pot Wisely
If you’re looking to create a lush display with a variety of plants, make sure your container is large enough to support that number of plants. Many homeowners mistakenly overcrowd their planter with too many plants then wonder why they fail to thrive later on. Remember, those annuals may look small and weak right now, but in a very short time they’ll grow much larger with proper care! Always refer to the care guide included with your plants for proper spacing guidelines for initial plantings.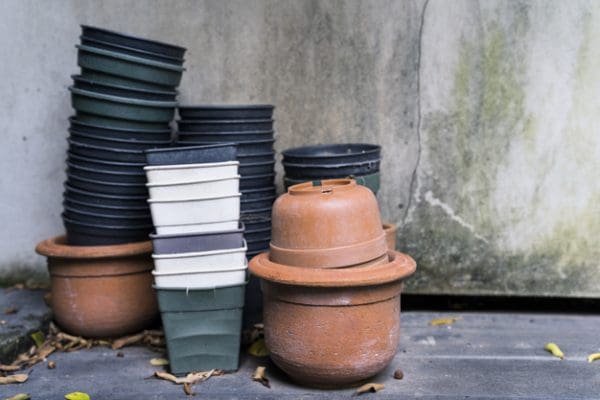
- Check for Drainage
Improper planter drainage can cause a multitude of issues, from drowning the roots to rot and disease. Strangely enough, many outdoor planters do not come with a drainage hole pre-drilled, so check ahead of time and make corrections if necessary.
Another step you can take to allow for adequate drainage is to fill the bottom of your planters with river rock, or any other type of rounded stone. Avoid flat jagged rocks like crusher run as they compact easily and will become an impediment rather than allowing for smooth drainage. Adding rounded stone to the very bottom prevents water from becoming trapped due to impacted soil, ensuring excess water always has a reliable manner in which to flow freely from the planter.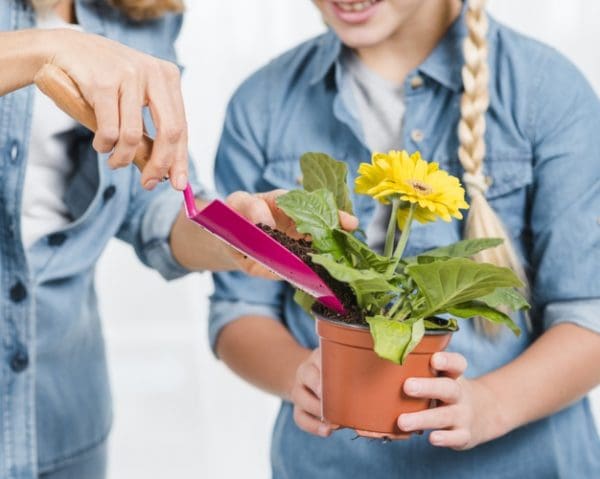
- Use Potting Soil
It might be tempting to save a few bucks and start digging out dirt from your backyard, but this isn’t a desirable option for a few reasons.
Potting soil is usually a combination of moisture control, fertilizer and soil that has been selected for its density, which makes it easy for the fragile roots of young plants to penetrate and establish a solid foundation. Very few people live in an area with ideal soil that can mimic that of potting soil, so common soil types such as sand or clay can stunt the growth of flowers if used.
In addition, homeowners may unknowingly be adding harmful chemicals, grubs, other harmful insects or fungi/disease to their plants using this method.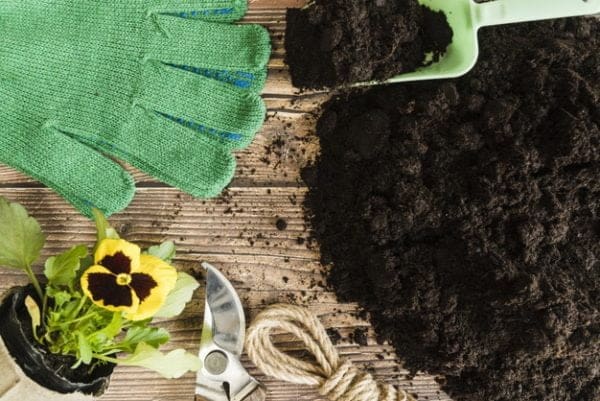
- Fertilize Before (and After) You Plant
Because annuals grow at a rapid pace, they require a lot of energy to do so. The best way to help out your plants right from the start is to invest in a moisture control potting soil and mix in the recommended quantity of slow release fertilizer. By doing so you are minimizing the shock to the plant of being replanted by immediately providing with essential nutrients to establish its root system in its brand -new container.
Afterwards plants should be fertilized once every two weeks, or whatever is recommended by the particular fertilizer brand of your choice.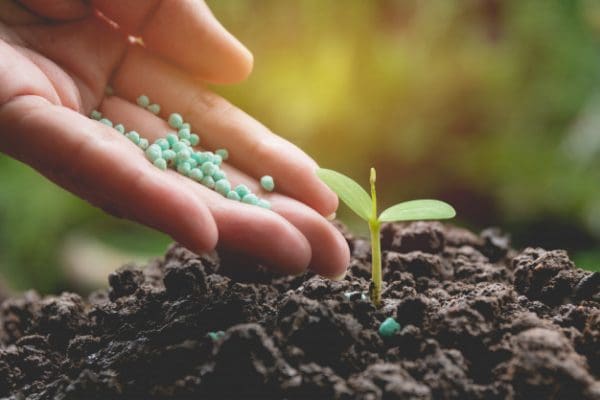
- Pick Your Planter Spot Before You Buy
Although some annuals are pretty easy going, others are far more particular. If you’re like many homeowners, your property gets a variety of sunlight exposure depending on which area you’re referring to. So before heading to your local nursery, considering where you want to place your planters and what type of sun exposure they’ll deal with.
This way you won’t end up with wilted and burnt annuals that preferred shade or ones that won’t bloom or flourish because they aren’t getting the full-sun they require.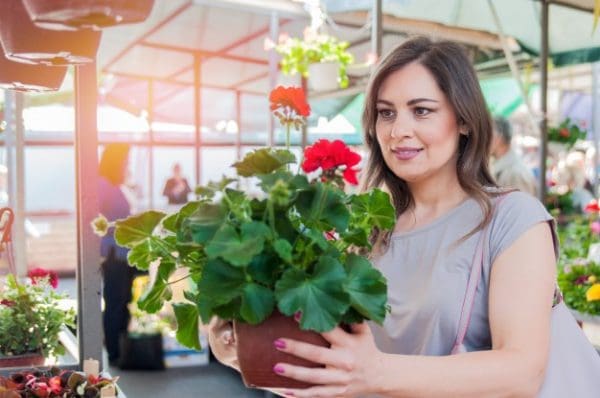
- Water Daily at The Roots
Annuals have much shallower root systems than perennials, which means that they aren’t as good at getting access to water as their brethren. This requires them to have access to fresh water on a much more consistent basis, especially as the weather warms and the warm air causes much of it to evaporate.
As tempting as it is to shower the entire plant down with your hose, try to avoid spraying the blooms and leaves with water, opting for direct watering to the base of the plant instead. Watering the top of the plant increases its risk for scorching as well as acquiring fungal diseases.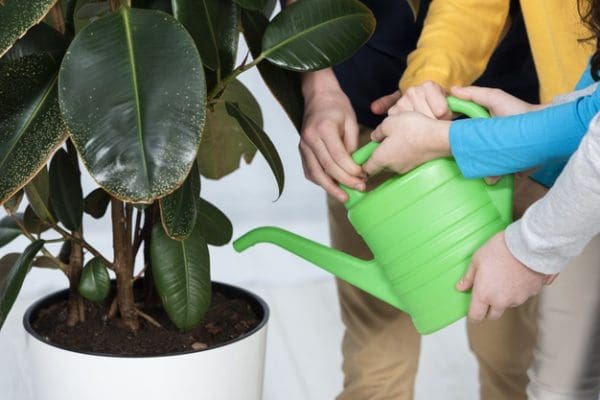
- Deadhead Your Blooms
This step isn’t required for every type of annuals (like Impatients or Begonias) but certain varieties such as Marigolds and Petunias require regular removal of dead flowers in order to encourage new flower growth and keep the plant healthy and beautiful.
Every other day examine your plants for signs of any wilted, sick, or dead flower blossoms. Either cut or pinch of these blooms in order to remove them and prevent the plant from expending unnecessary energy on dead foliage. If the plant begins to look stringy or thin at any point, trim it back a few inches (roughly 1/3 its size) and within a week’s time your plant should look full and healthy once again!