
If you can believe it, Halloween is now only
TWO WEEKS AWAY!
By now most of us have already scrambled to find the perfect costume, we’ve put up our spooky decorations and stocked up on our favorite candy.
Now there’s just one thing left to do: carve the perfect pumpkin!
Although most of us will probably never be a pumpkin carving Picasso, here’s a few helpful tips to up your Jack-O-Lantern game this year and keep it looking just as fantastic as the day it was carved!
1). Start From the Bottom
You heard me right!
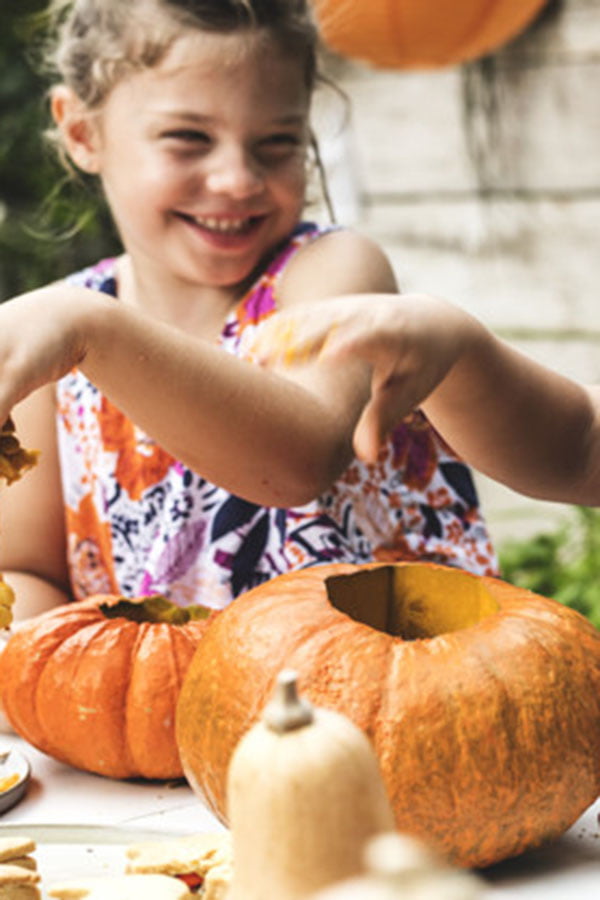
For most of us, we grew up carving the opening right at the top, but believe it or it’s actually more advantageous to cut the hole from the bottom. Doing so prevents the sides from caving in later on when the pumpkin begins to soften and/or dehydrate. It also allows you to light the candle first and simply place the Jack-O-Lantern over it.
If you do decide to cut from the top, make sure to cut on an angle to give the lid a place to sit. Cutting straight down will lead to an unfortunate situation where the lid falls into the pumpkin. Admit it, we’ve all done it once…
2). Thin the Walls
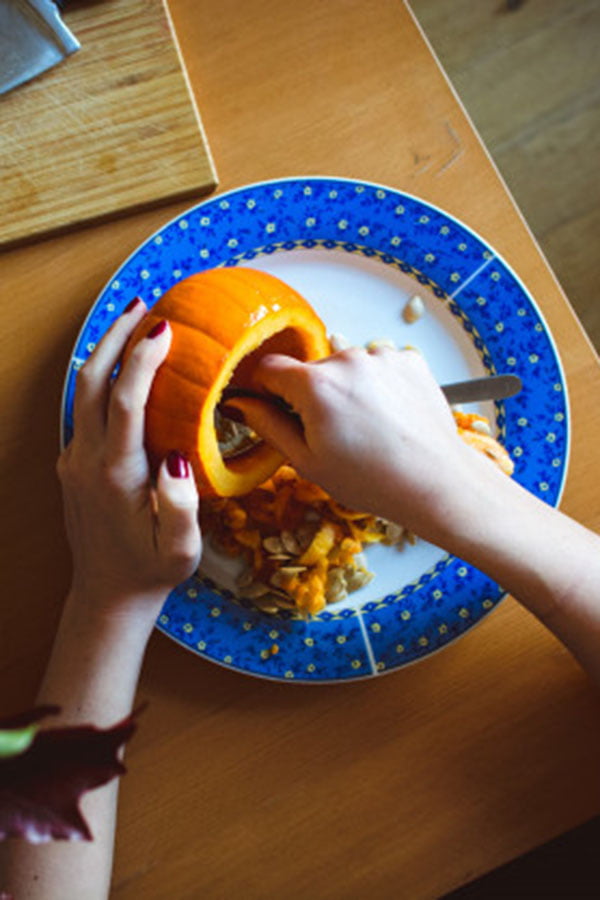
This step is especially important if you plan to carve an intricate design. After you’ve scooped our all of your innards and seeds (an ice cream scoop works great for this step!), continue shaving away at the sides until your pumpkin is roughly ¼ inch thick.
This allows your carving knife to penetrate easier and allows you to make more precise cuts with less effort.
3). Use an Exacto Knife
to Trace the Outline
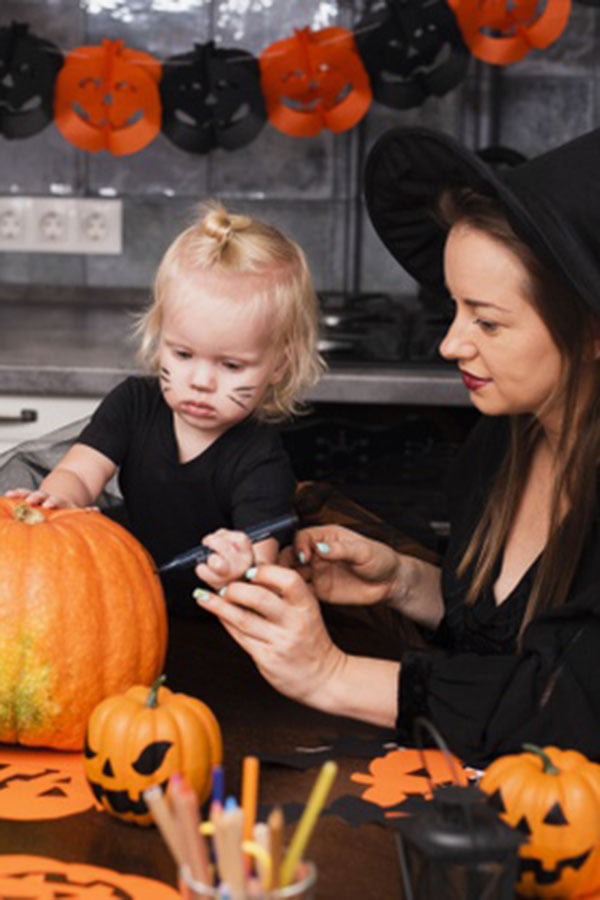
One you have decided on a pattern and either free-handed it or taped it to the pumpkin, its time to make the preliminary cut.
This time we’re going to save time and a ton of effort by ditching the little puncture tool (you know the one I’m talking about) by using an Exacto knife to trace the pattern into the pumpkin’s flesh.
This not only provides a much clearer image of the pattern for you to carve into afterwards, but also creates a great starting indentation. Go over it one more time to make the cuts a bit deeper and you’ll have a much easier time carving!
4). Use the Right Knife
So your hole is cut, the pumpkin is clean, the pattern is laid out and you’re ready for the best part: carving!
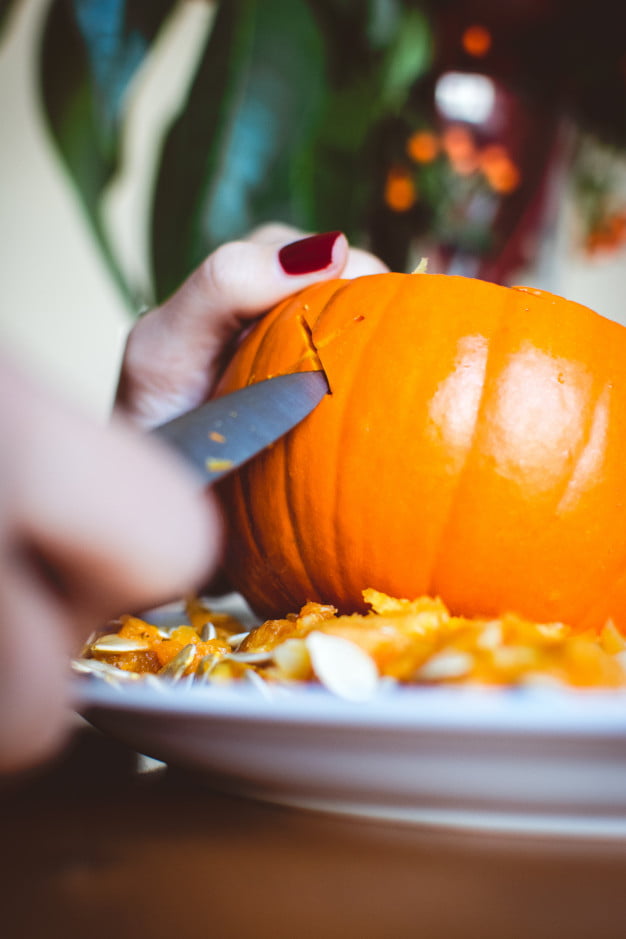
There’s no question about it, having the right tools for the job will definitely make your life easier. While most of us don’t own an electric hand saw and Dremel set for pumpkin carving, investing in some real pumpkin carving saws (not those plastic ones that come with the books) is a game changer.
You can find a set online for about $20 and it comes with an assortment of tools designed for larger cuts, smaller cuts, curved cuts, and many more! Not only does their precision and ease of cutting create a nicer looking Jack-O-Lantern, but it also prevents many accidental injuries that result in trips to the Emergency Room for stitches!
For those who simply prefer the traditional route, start off by cutting the larger sections with a serrated knife and use a very sharp, smaller knife (such as a de-boning knife) to make more precise cuts. The sharper the better!

5). Seal Your Jack-O-Lantern
Congratulations, you’re finally done! After all of that hard work don’t forget to seal your Jack-O-Lantern so you can enjoy it for weeks to come!
The best part about this step is it requires items that you more than likely already have hanging around your house!
- Petroleum Jelly – This is a great way to keep your pumpkin fresh just long enough to last through the holiday. It also keeps the inside untouched for those cute little critters who might decide to turn your piece of artwork into their dinner for the next week or so. Just spread some along the cut edges and it will seal in the moisture.
- Water & Bleach – To keep your Jack-O-Lantern looking freshly carved for far longer, start out by washing with soap and water then soaking it in a solution of 1 tsp to 1 gallon of water for eight hours. This will hydrate the pumpkin and prevent mold from growing as well.
After the pumpkin is dry spray with a stronger solution comprised on 1 tbsp bleach and 1 liter of water. Do not soak the pumpkin in this highly concentrated solution as it will cause the pumpkin to soften.
Once dry, spread Petroleum Jelly on the cut edges and enjoy!
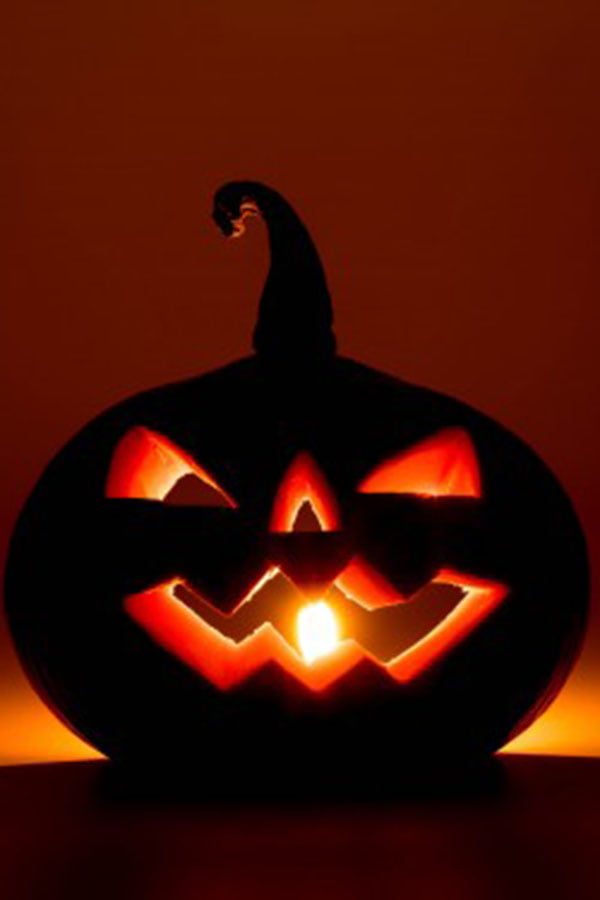
6). Create a “Chimney” Hole
This is especially important for carvers who prefer to scrape away at their pumpkin and create design through dimension rather than cuts.
In order for a flame to burn it needs access to air, so to provide the best amount of air flow, cut a small hole at the top (in the back) and your flame will burn taller and brighter!
7). Sprinkle Cinnamon
on the Lid
Adding a little bit of spice will turn your beautiful glowing Jack-O-Lantern into a fragrant work of art!
From all of us here at Heritage Custom Builders, have a wonderful and safe night. Feel free to share pictures of your finished pumpkins on our Facebook pages!
Happy Halloween!

